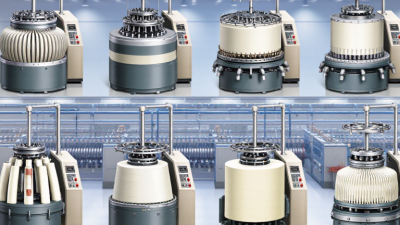
What Is a Rib Knitting Machine and How Does It Work?
The rib knitting machine is a specialized textile machine for producing stretchy, reversible knitted fabrics. Its needles work in opposing beds, creating raised columns on both fabric faces. This structure appears in cuffs, waistbands, collars, underwear, sportswear, and fitted garments. A close view reveals alternating vertical ridges, not a flat knitted surface.
Industry demand gives this technology practical importance. Textile Exchange’s Materials Market Report 2024 states that global fiber production reached 124 million tonnes in 2023. The report projects growth to about 160 million tonnes by 2030. That expansion increases pressure on manufacturers to improve fabric performance, material efficiency, and production consistency. Meanwhile, the International Textile Machinery Federation’s International Textile Machinery Shipment Statistics tracks continuing investment in knitting equipment across major textile regions. These reports do not measure every rib knitting machine directly. However, they show the broader industrial conditions supporting advanced fabric production.
This guide explains the machine’s needle arrangement, yarn path, cylinder and dial movement, and fabric formation process. It also examines gauge, stitch density, elastane feeding, and common quality problems. A loose rib may indicate incorrect tension. Uneven edges can suggest worn needles or poor yarn control. The machine may look mechanical and precise, yet small settings matter. One overlooked adjustment can change recovery, width, and hand feel. Operators learn this through repeated inspection, not theory alone. Some explanations simplify the process too much. Real production is less tidy. Yarn behavior, machine age, maintenance, and operator judgment can all alter the final fabric.
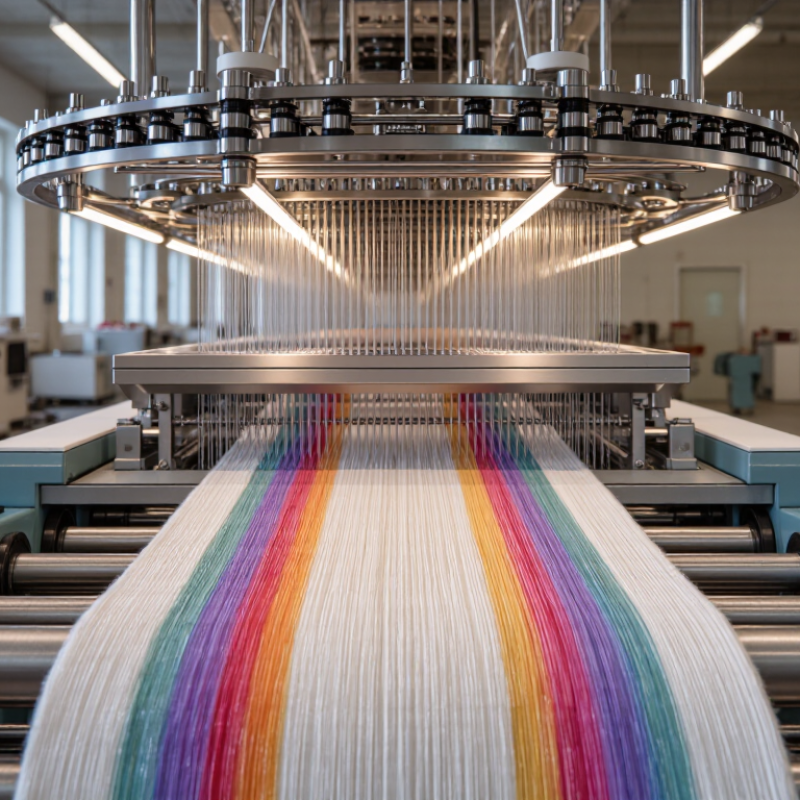
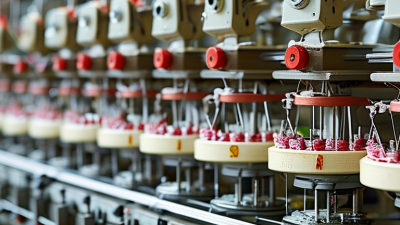
A rib knitting machine uses two needle beds facing each other. Each bed holds needles that knit in opposite directions. This arrangement creates flexible fabric with raised columns and recessed channels. It is the foundation of cuffs, neckbands, waist edges, and fitted hems.
A 1×1 rib alternates one knit stitch with one purl stitch. The result is balanced, springy, and fairly smooth on both sides. A 2×2 rib uses two needles from each bed in repeating groups. It looks broader and often feels softer, but it may relax more after washing.
The needle beds must align accurately. Even a small mismatch can produce dropped stitches or uneven columns. Yarn tension also matters. Too much tension reduces stretch, while loose tension can make the edge look careless.
Tips:
Knit a small test swatch first. Check its width, recovery, and edge stability after washing. Mark the first needle on each bed. This simple habit prevents many setup mistakes.
I sometimes prefer 1×1 rib for narrow edges, although the fabric can appear slightly firm with dense yarn. For 2×2 rib, inspect the first few rows closely. The pattern becomes easier to correct before more fabric builds.
A smooth yarn and moderate carriage speed usually improve stitch consistency. However, every yarn behaves differently, so fixed settings should be treated as a starting point, not a rule.
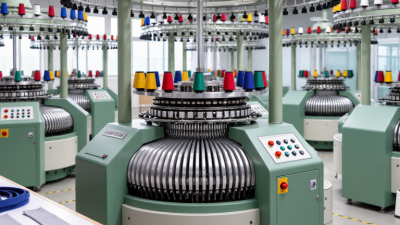
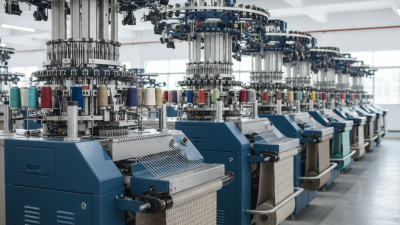
A rib knitting machine uses two needle beds: a cylinder and a dial. The cylinder holds vertical needles, while the dial carries horizontal needles above them. Together, they form alternating knit and purl stitches. This structure creates stretchy fabrics for cuffs, collars, waistbands, and fitted garments.
The cylinder rotates as cams guide each needle through its knitting path. Dial needles work from a crossing angle, helping the machine produce 1x1, 2x2, and other rib arrangements. Needle timing matters greatly. A small adjustment can cause dropped loops or uneven columns. I have found that slow testing prevents larger faults later.
Gauge describes needle spacing, usually measured by needles per inch. A 12-gauge machine has fewer, thicker needles and commonly handles heavier yarns. A 40-gauge machine has finer needles for lightweight, detailed fabrics. The middle range offers more flexibility, but yarn choice still controls the result. Two yarns with similar labels may behave differently.
Operators should check needle condition, dial height, cam settings, and yarn tension before production. A worn latch can leave a visible vertical mark. Excessive tension may reduce stretch and distort the rib. Gauge numbers are useful, but they are not a complete fabric specification. Swatching remains necessary, even when the machine settings appear correct. My own preference is to record every adjustment, because memory becomes unreliable during repeated trials.
| Component or Specification | Primary Function | How It Works in Rib Knitting | Typical Configuration or Range | Practical Effect on the Fabric |
|---|---|---|---|---|
| Cylinder | Holds and moves needles arranged vertically around the machine bed. | Its needles knit loops in one direction while interacting with the dial needles to form alternating knit and purl columns. | Usually used together with one dial; cylinder diameter and needle count determine the knitting circumference and width. | Creates the foundation for tubular or circular rib structures and helps determine fabric density. |
| Dial | Supports a second set of needles positioned horizontally above the cylinder. | Dial needles knit from the opposite direction of the cylinder needles, producing balanced face and reverse loops. | Commonly positioned at approximately 90 degrees to the cylinder; dial height and alignment can be adjusted for different structures. | Enables 1x1, 2x2, and other rib arrangements with improved stretch and recovery. |
| Cylinder Needles | Form loops from the cylinder needle bed. | Selected needles rise and descend through cam tracks to catch yarn, draw it through an existing loop, and create a new stitch. | Needle count varies with cylinder diameter and machine gauge; fine gauges use more closely spaced needles. | Influence stitch definition, fabric width, weight, and the appearance of the cylinder-side wales. |
| Dial Needles | Form the complementary loops on the dial bed. | They operate in coordination with cylinder needles so the two needle beds alternately produce knit and purl stitches. | Needle spacing normally corresponds to the selected machine gauge and cylinder needle spacing. | Controls rib definition, elasticity, and the balance between the two fabric faces. |
| Cams | Guide the movement of cylinder and dial needles. | Cam paths raise, hold, or lower needles at precise points during each machine rotation, controlling knitting, tuck, or miss actions. | Cam settings are selected according to the desired rib pattern and stitch sequence. | Determines the stitch structure, pattern repeat, and amount of yarn drawn into each loop. |
| Yarn Feeders | Deliver yarn consistently to the active needles. | Feeders present yarn at the correct position while the cylinder and dial needles pass through the knitting zone. | One or more feeders may be used; the number depends on machine design, speed, and production requirements. | Stable feeding helps prevent uneven stitches, dropped loops, and visible barré effects. |
| Take-Down System | Pulls the newly knitted fabric away from the needle area. | Rollers or a take-down mechanism apply controlled tension so the fabric does not accumulate around the knitting zone. | Pressure and speed are adjusted according to fabric weight, yarn type, and required stitch length. | Supports even fabric formation and helps maintain consistent dimensions. |
| Gauge (Needles per Inch) | Indicates the approximate number of needles occupying one inch of needle-bed circumference. | A higher gauge places needles closer together, while a lower gauge provides more space for thicker yarns. | 12–40 gauge | Lower gauges generally produce heavier, more open structures; higher gauges are suited to finer, lighter rib fabrics. |
| Coarse Gauge Range | Handles relatively thick yarns and produces a bold rib structure. | Wider needle spacing accommodates larger yarn diameters and larger stitch loops. | 12–18 gauge | Often produces thicker cuffs, waistbands, collars, and robust rib panels with pronounced texture. |
| Medium Gauge Range | Provides a versatile balance between bulk, stretch, and stitch clarity. | Moderate needle spacing supports a broad selection of medium-weight yarns and common rib patterns. | 20–28 gauge | Suitable for many everyday trims, fitted panels, sweater components, and elasticated garment sections. |
| Fine Gauge Range | Produces finer, smoother, and more compact rib structures. | Closely spaced needles form smaller loops and require appropriately fine yarn and careful tension control. | 30–40 gauge | Creates lightweight ribbing with refined stitch definition for fine-gauge garments and narrow elasticated details. |
| 1x1 Rib | Forms one knit column followed by one purl column. | One cylinder needle and one dial needle alternate around the circumference. | Repeat: 1 cylinder stitch + 1 dial stitch | Highly elastic and relatively compact; commonly used for cuffs, neckbands, and close-fitting edges. |
| 2x2 Rib | Forms two knit columns followed by two purl columns. | Needle selection repeats in groups of two on each needle bed. | Repeat: 2 cylinder stitches + 2 dial stitches | Produces a broader rib appearance with good stretch, recovery, and a more pronounced vertical texture. |
| Stitch Length Setting | Controls the amount of yarn used in each stitch. | Adjusting the cam or stitch-setting mechanism changes how far needles draw yarn through the previous loops. | Set according to yarn size, target fabric weight, and required stretch. | Longer stitches usually create a looser, lighter fabric; shorter stitches create a denser, firmer fabric. |
| Knitting Sequence | Coordinates yarn feeding, needle selection, loop formation, and fabric take-down. | Needles are selected, raised by cams, catch the yarn, draw new loops through old loops, and then return as the fabric is pulled downward. | Repeats continuously for each machine rotation and pattern repeat. | Consistent synchronization is essential for even rib columns, stable width, and reliable stretch recovery. |
| Key Adjustment Factors | Maintain fabric quality during production. | Operators balance yarn tension, stitch length, take-down pressure, needle condition, and cylinder–dial timing. | Settings depend on yarn fiber, yarn count, gauge, rib pattern, and desired finished dimensions. | Correct adjustment reduces dropped stitches, needle lines, uneven ribs, and dimensional distortion. |
A rib knitting machine produces elastic fabric through coordinated needles on a cylinder and dial. The cylinder works vertically, while the dial holds needles horizontally. Together, they form alternating knit and purl loops. This structure creates stretch, recovery, and a balanced surface.
Timing controls the entire process. As the cylinder rotates, dial needles must rise, clear their old loops, and receive yarn at the correct moment. The dial and cylinder move as a matched system. If one side advances slightly, loops may tighten, miss, or break.
At speeds approaching 40 revolutions per minute, small timing errors become visible quickly. Yarn tension, needle condition, and fabric take-down pressure also affect loop formation. Skilled operators check the machine at low speed before increasing production speed. They listen for uneven impacts and inspect the first fabric courses closely.
The setting is not always perfect. Humidity and yarn variation can change the result. A practical adjustment may require several careful trials. That uncertainty matters. Reliable production depends on measured timing, clean needle paths, and regular maintenance rather than speed alone. When dial and cylinder needles meet smoothly, each new loop supports the next one, creating stable rib fabric with consistent elasticity.
A rib knitting machine produces elastic fabrics with alternating knit and purl columns. Its cylinder and dial needles work together around the yarn path. This arrangement creates cuffs, waistbands, collars, and stretch panels. The fabric feels structured, yet it can recover after pulling. In practical production, correct needle alignment matters greatly. A tiny mismatch may cause dropped stitches or uneven ribs.
Production begins with yarn feeding. Tension devices guide yarn smoothly toward the selected needles. The yarn must stay stable without becoming too tight. Next, needles form loops while cylinder and dial needles cooperate. During stitch transfer, selected loops move between needle beds. This step changes the rib structure and supports complex patterns. Transfer timing must remain precise. One delayed needle can mark the fabric surface.
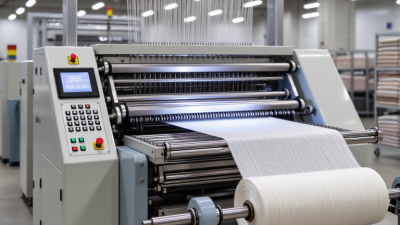
Take-down rollers then draw the knitted tube downward at a controlled speed. Excessive pressure can flatten the ribs. Weak pressure may cause fabric piling near the knitting zone. The control system coordinates speed, stitch density, yarn tension, and needle actions. Sensors can identify irregular movement or sudden tension changes. Operators still need practical judgment. Automatic settings are helpful, but they are not perfect.
A useful check involves examining several fabric sections, not only the first meters. Small differences often appear after the machine warms up. That detail is easy to overlook.
A rib knitting machine uses two needle beds to create elastic, reversible fabric. Needles on the cylinder and dial form alternating knit columns. This structure produces stretch, recovery, and a stable edge for cuffs, collars, and fitted garments.
GSM shows fabric weight in grams per square metre. Cut a conditioned sample, measure its area, and weigh it accurately. Yarn type, stitch length, moisture, and finishing can change the result. A target of 220 GSM may become 230 GSM after washing.
Courses per inch indicate vertical density. Count the rows under a magnifier, not by visual guesswork. Record the measurement after relaxation.
Fabric width should be checked without pulling the edges. Measure several points across the roll because rib fabric can curl or narrow unevenly.
Output in kg/hour reflects production speed, fabric weight, machine gauge, and operating efficiency. Separate gross output from accepted output.
A machine may produce 18 kg/hour, but stoppages and faults reduce usable fabric. That difference matters. One clean reading is never enough. Compare samples from different shifts, and review actual fabric quality before trusting the machine’s figures.